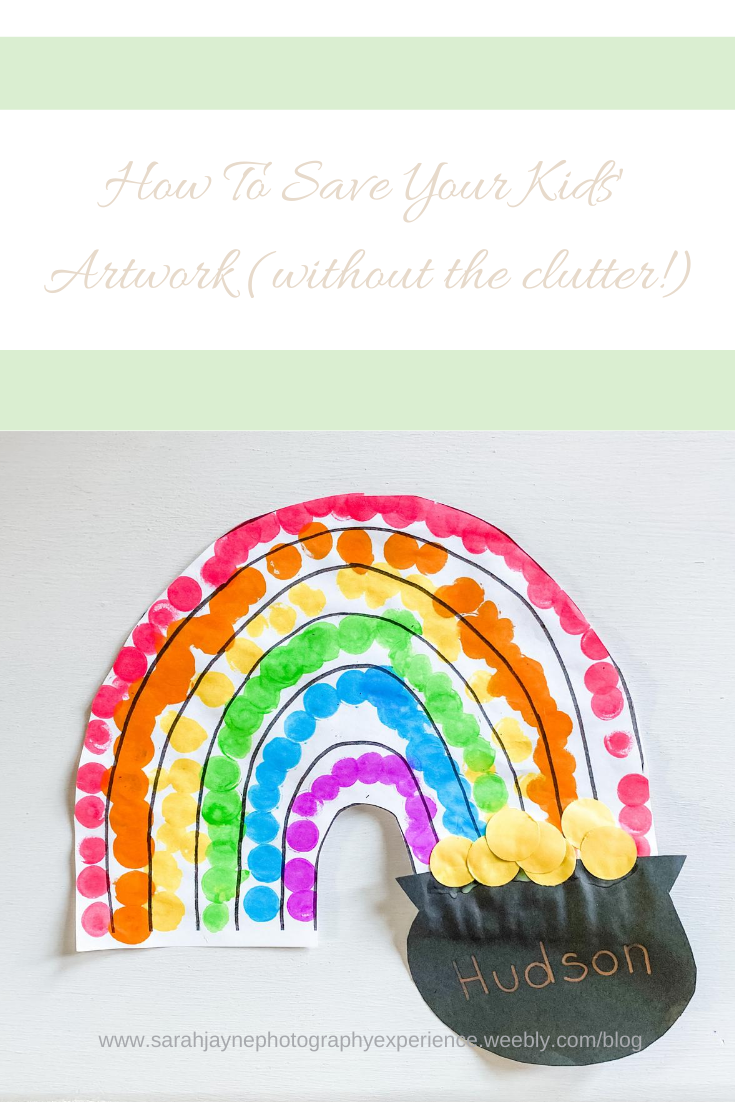
 Every once in a while, Instagram ads are worth something. It was through an Instagram ad that I found Light & Airy Mobile Presets. I've been on their email newsletter list for some time and their recent email was about how you can easily save your kids' artwork without cluttering up your home! They've graciously given me permission to share their advice with you! If you’re a parent, do you ever feel like your house is being overtaken by children’s artwork? Your sweet babies create the most precious display of art and you immediately feel torn! Your heart says hang on, but your memory boxes are overflowing. How do you decide what to keep and what to let go of when you never want to lose those memories? We are excited to share the perfect way to hang onto that artwork while freeing up space in your house!The solution... take photos of your children’s artwork and create a mini Photo Album to savor those sweet memories! We are so excited to walk you through the process! :) This will be part 1 of a 2 part series so stayed tuned for the next part coming soon… You can choose to either take the photos as the artwork comes in or take a bunch of pictures at once! You will want to start by finding a flat, neutral space in a well lit area where you can take photos of the artwork! A space near a window with soft light is the best option! You want to make sure you have enough light shining on the craft to maintain the details in the photo! Pick a table, bench, ottomon, light colored counter, or even use a styling board for the base! Determine a time when the sun isn’t too harsh (try in the morning when the sun is starting to come up... or even when the sky is overcast)... gather all of the art you want to capture and snap away! The spot I chose was a white bench at my kitchen table! You can see the two windows above that provide great light to this spot! I created a 90 degree angle between the windows and the artwork! The space is clean, light, and fits the artwork perfectly! :) 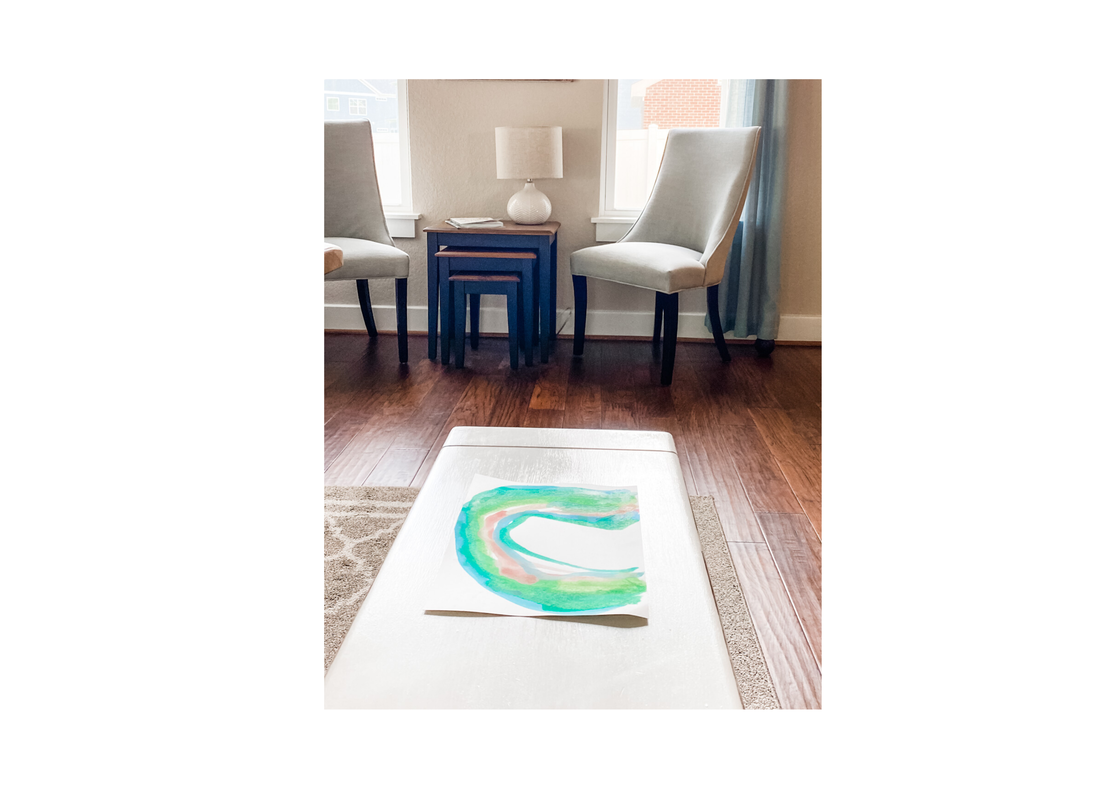  Next, you will want to lay out the artwork one by one on the predetermined space and take a picture from above, looking down on the work! Hold your phone still and flat to prevent a blurry, crooked photo! If you are getting any shadows, try turning until you no longer see a shadow! 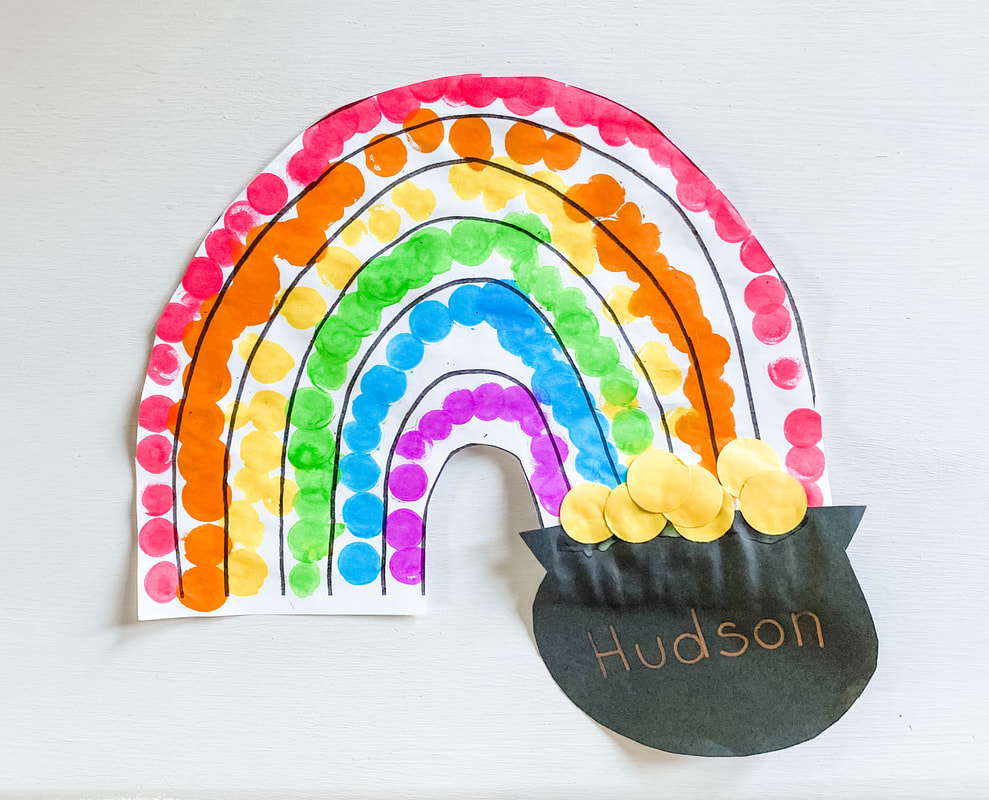 YAY! This is just the beginning!! We hope this is helpful and can’t wait to see what you do with the artwork in your home!! We will be back next week to show you how to edit these photos and create your mini Photo Album! Let us know if you have any questions in the meantime!! Always cheering for you! Caroline and Anna P.S. In case you missed it… this is Part 1 of a two part series! Stayed tuned for Part 2 all about how to edit and print your kids’ art photos coming soon! Did you love this article? You can sign up for their email newsletter HERE. They don't swamp you with emails; I think I get a couple a month and they are full of great tips for mamas to capture your kiddos lives with just your phone! Sarah here now! I would add that you can do this same process with school assignments that you might want to keep. Another great idea would be to scan papers that are handwritten. I don't know how much of that goes on anymore, but it's a way to keep the assignment without paper laying around!
0 Comments
Leave a Reply. |

Hi! I'm Sarah!
I am a natural light portrait photographer. I've been taking photos since 2014 and would eat a smoothie from Tropical Smoothie Cafe for lunch everyday if I could. Thank you so much for stopping by. I blog about sessions, things I'm learning, stuff in my life, and information for YOU, my client. If you like what you see around the site, I'd love to work with you! I'd also love to connect with you on Instagram. I'm @sarah_jayne_photo :) Archives
April 2024
Categories
All
|
 RSS Feed
